Invoicing Software that Grows with You
Create, manage and send estimates and invoices online with Zervant – the best invoicing software made specifically for sole traders and small businesses.

As seen on:

For entrepreneurs, by entrepreneurs
There’s power in simplicity
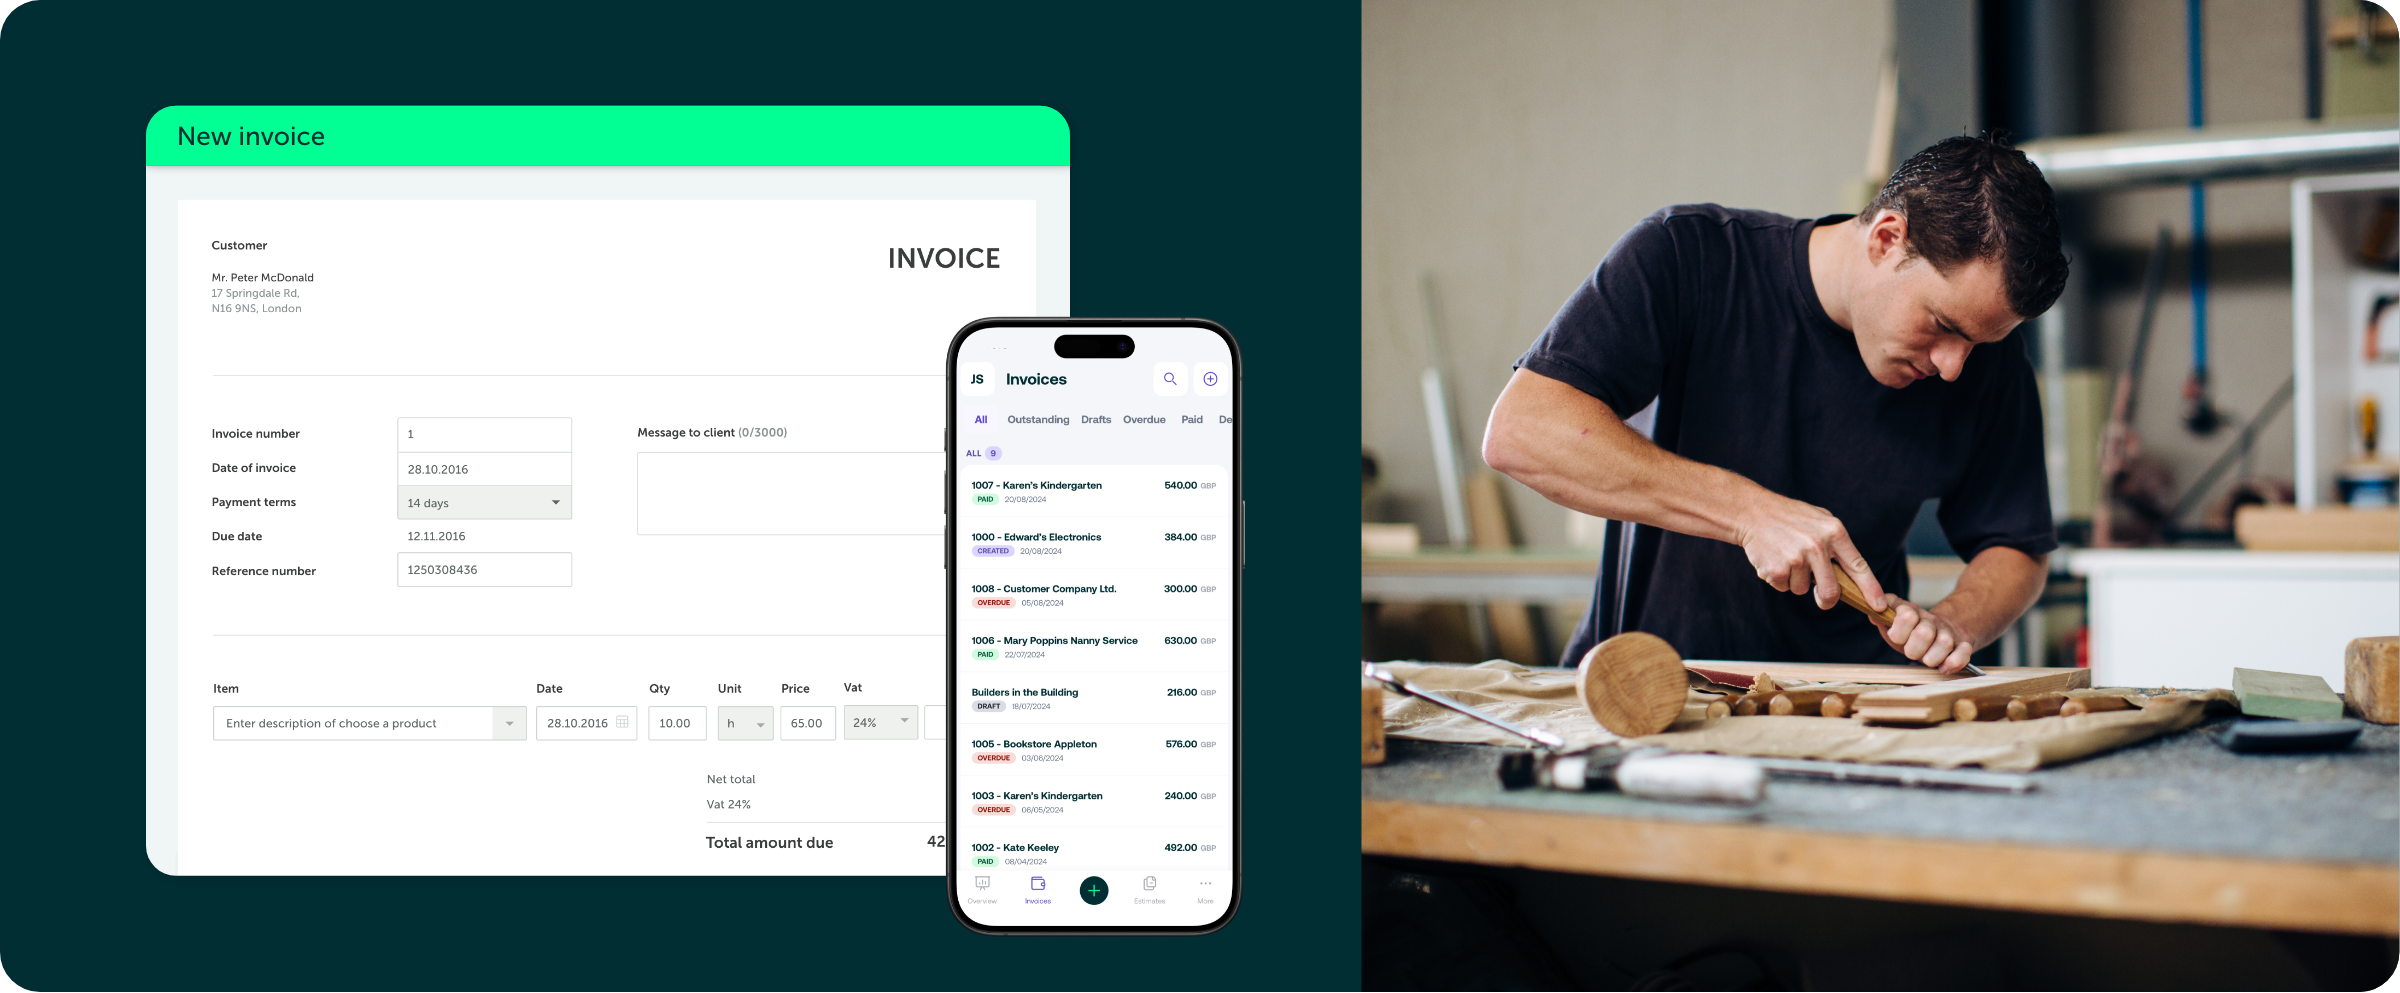
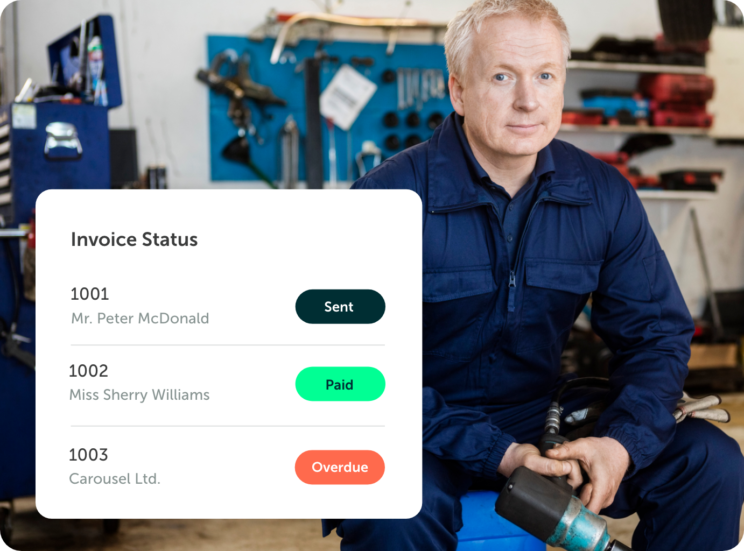
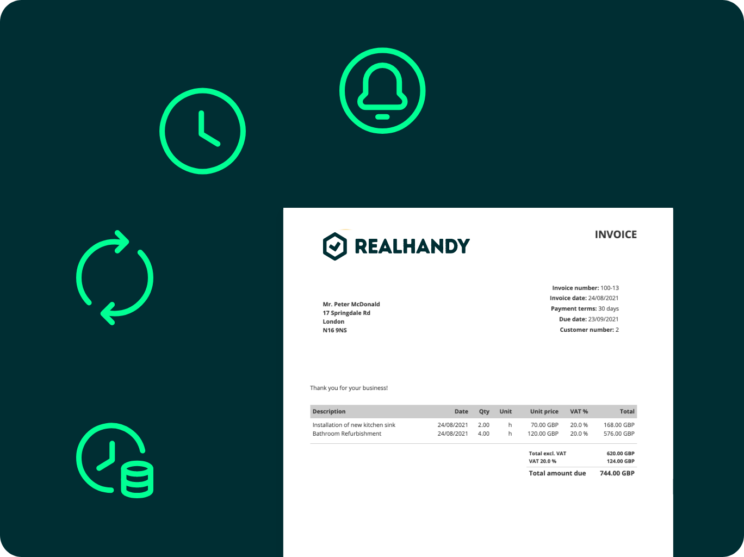
Zervant is focused on creating the best invoicing experience devoid of unnecessary add-ons. Instead, enjoy automated recurring invoices, multiple delivery formats and invoice status tracking. Start invoicing for free today.
Freedom is… free!
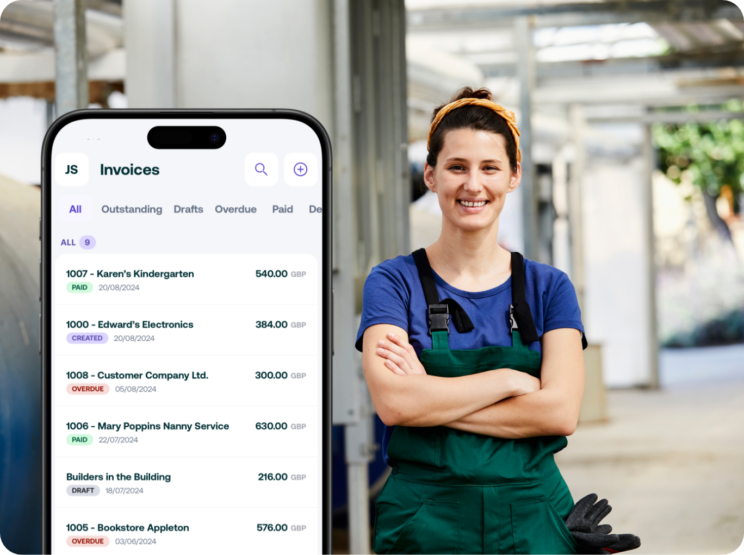
As more work moves online, we now have the freedom to work wherever we are, whenever we want. Zervant’s mobile app is free to use on any subscription. Invoice on the job and modernise your work processes.
Don’t estimate your success – make it happen.
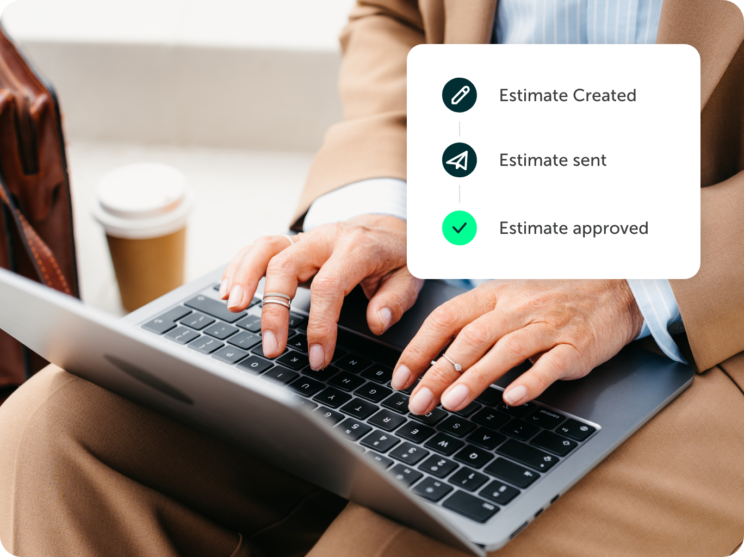
Send and manage professionally designed estimates and get more work when you use Zervant. When your estimate is accepted, automatically convert that estimate into an invoice and spend more time on the job at hand.

Time isn’t money. Time is life.
Spend more of it doing what you love. It takes less than a minute to send an invoice with Zervant and, with our time tracking and reporting features, you can keep on top of how long you work and see how your business develops over time.
Software that grows with you
As your business grows, Zervant grows too! Start invoicing for free and upgrade only when you need that little bit more. We built Zervant to grow with you and your business – check out what you can start doing for free and upgrade any time.

Learning is slow, invoicing is fast!
With intuitive controls and a simple-to-understand interface, Zervant is simple enough that you don’t need lessons to use it. Simply create your free account and start using it today – if you want to learn more, check out the helpful hints and tips on our blog.
Free tools and resources for your business
We weren’t lying when we said we’re more than just an invoicing software. We also want to help you grow your business by providing you with useful tools, guides and other resources.
-

Zervant
Zervant becomes Zervant by Shine
Zervant has a bright future ahead, and will now be known as Zervant by Shine. You don’t have to do anything: you will continue to enjoy the same great…
-
Tools & Templates
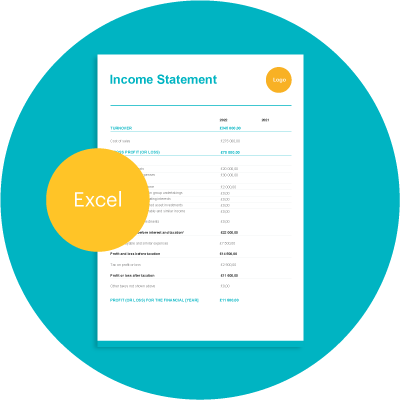
Income Statement Template
An income statement or profit and loss statement will tell you how much money your company has made over a period, usually the company’s financial year.
-
Tools & Templates
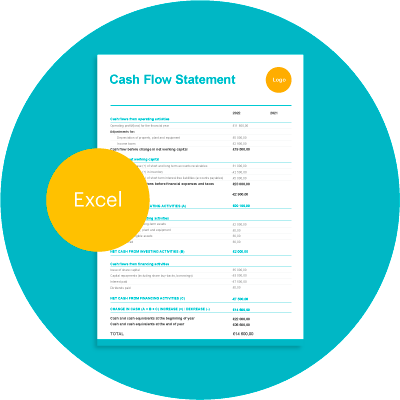
Cash Flow Statement Template
A cash flow statement can help you to manage your finances and avoid the worst surprises. It reports the cash flowing in and out over a particular period.